Home

How to generate a photo album in Blurb-compliant .pdf format with Python and LaTeX

January 2016

Two small children plus two digital cameras (a smartphone and a DSLR) has meant that over the last few years I have amassed a large number of photos. Both as a memento for the children to remind themselves of holidays, days out etc and as a gift for the grandparents I thought it would be great to create annual family photo albums with some of the best pics.

Even after rejecting 80% of the images on my various SD and micro-SD cards I still had remaining 300 to 500 pictures for each year 2012-2015. At this point I began looking for printing options. And whilst there are a number of Printing-on-Demand (POD) publishers they generally required the use of proprietary software (desktop or web-based) to build a picture book and involved some combination of selecting, uploading, placing, arranging and captioning each photo individually. A further constraint was the maximum number of pages allowed per book.

Given the number of images I was dealing with manually configuring each one was not an option. What I wanted was a service that would, given my image collection, just print me a photo album of approx 6x4 images, in chronological order, two per page, with a caption below each detailing the image file name and the date taken.

Unable to find anyone that could do this I started thinking about doing it myself. If I could create a .pdf of my photo album then all I would need to do is find someone to print it...

Plan

Create a LaTeX version of my photo album from which I could generate a .pdf, which I could then get printed. Use Python to generate the LaTeX mark-up for all of the images.

The final product

And this is what the final album looked like. I used Blurb's pdf-to-book service for printing. Format is the "Standard Portrait" 8x10in (21x26cm) Photo Book with Hard Cover & Dust Jacket and Premium "Lustre" paper:


I went for a very simple dust cover design. The book seems well made and I did not notice any alignment or other printing issues.
Example pages. The paper is pretty thick with a semi-gloss finish. In general was happy with the final result although the print quality is not quite what you'd find in a commercially published photo book.

Requirements

Selecting your images

First the images you want to include in your photo album need to be chosen. This is the most laborious part of the process assuming a large image collection, and realistically is not something that can be automated. You just need to go through your collection one by one. I probably spent 2 full days going through 5,000+ images and selecting the ones I wanted to print. Save a copy of each selected image into an empty directory (folder) of your choosing. I ended up discarding around 80% of my photos, but that still left nearly 1,000 that I wanted to include in my albums for the years 2013 - 2015. Note: you should have seperate image folders for each album you want to produce.

Rescaling the images

Once you've compiled your selected images you probably should rescale them. The pixel count of the images taken with both my smartphone and DSLR was far higher than required for decent printing at the sizes I was considering, around 6 x 4 inches. Whilst having higher resolution does no harm it will materially impact the resulting size of the generated .pdf. This could potentially lead to transfer issues when uploading for printing - it's far faster to upload a 300MB file than a 3GB one. I used ImageMagick to rescale images to the equivalent of 300dpi which is a perfectly adequate resolution for photo printing.

Here is a very simple shell script that will loop over all the images in a directory and save a rescaled version to a sub-directory called "scaled": scale.sh. In this example images are scaled to a specified width of 1,800 pixels. Run this in the directory with your selected images, but be sure to create the "scaled" sub-directory first (the script won't create it for you).

The LaTeX wrapper

This contains all the outline LaTeX markup for the album document. Here is an example album.tex. This defines the document dimensions, the margin sizes, adds a title page, configures the page counter and so on. Note this assumes that the LaTeX for the images themselves is in a file called photos.tex. Document dimensions are a function of the number of pages. Be sure to use the Blurb specifications calculator to determine the correct dimensions.

Images LaTeX

I used Python to generate the LaTeX for the images in each album. I used the Python Imaging Library (PIL) to read the exif data - specfically the photo date. This allowed me to a) sort the images into chronological order and b) include the date as part of the image caption along with the file name. Here is the script I used: create.py. The script just prints to screen so simply pipe the output to a file:
$ python create.py > images.tex
Here is an example of the generated LaTeX for just a handful of images: images.tex

Creating the .pdf

To create a .pdf all we need to do now is:
$ pdflatex album.tex
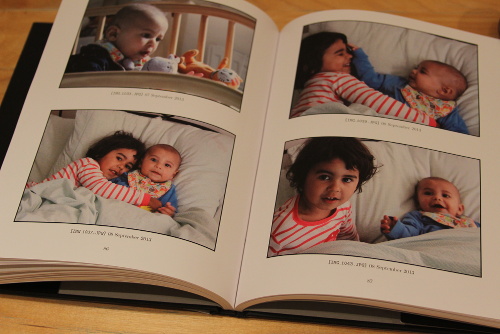
which will generate a file called album.pdf. And there you have it! Hopefully a beautiful photo album in .pdf format. Here's an example .pdf (just 3 pages of images in order to minimise the size for web viewing): album.pdf.

Printing the .pdf

I used Blurb's pdf-to-book facility. Having uploaded your .pdf expect it to take around 10 days for delivery.

Back to top

Home